9 Steps To Prepare A Fence For Painting
You might paint the living room and bedroom walls from time to time, but it is also essential to paint the fence outside your home. Applying new colour to your dull looking fence is a cost-effective way to brighten up the surroundings.
So, it is advisable to paint the fence thoroughly. However, preparing the fence for painting can be challenging for you. That is why many people delay the task for as long as possible.
If you postpone the painting job for too long, it can worsen the condition of the fence and repairing or replacing it can be way more costly. Many people hire professionals who offer the best painting in Australia, and it is the right thing to do.
They use appropriate tools, eco-friendly products, paints and advanced methods to accomplish the task in the best possible manner. However, if you want to carry out the task on your own, then you follow a step-by-step procedure.
Here are the nine steps to prepare a fence for painting.
1. Mow the Lawn
To start the preparation, you need to ensure that no vegetation will obstruct the painting offence. It may stick to the fence if the wind blows. To collect any loose plants, mow your lawn properly.
Things You Will Require:
• Rake
• Grass Mower
• Shears
2. Trim the Loose Vegetation
If you have large plants in your garden, you need to take care of them. Otherwise, they might knock the fence down while painting it. So, trim or string the branches away from the fence, so they don’t get in the way. Experienced painters in Australia also follow this step when painting fences.
Things You Will Require:
• Twine
• Secateurs
3. Cover the Plants around the Fence
You also need to protect any plants that are close to your fence from paint, and for that, you can use plastic sheets. Cover your plants with the sheets but be careful not to crush them. Therefore, you should choose a professional painter over a DIY painting. Professionals focus on every minute detail when they undertake a project.
Things You Will Require:
• Protective sheet
4. Protect the Surface under the Fence
Slide some plastic sheeting underneath the fence to protect the ground beneath it. Any residue that falls off the fence while you are painting it will be collected by the sheet.
Note: If your fence panels are heavy, take someone’s help to lift them, so you don’t get injured.
Things You Will Require:
• Protective Sheet
5. Repair Fence before Paint
If you want your fence to look good for a longer period, then you should perform the essential repair work before painting the fence. If there are a few small cracks in the fence, you can use wood glue to repair them. You should replace a wooden slat or a whole panel if the damage is severe.
Also, replace any rusted nuts, bolts, and screws for a fresh fence glow. If you hire certified painters in Australia, they will also follow the same process. If you want the best service providers, you need to know questions to ask when hiring a painter.
Things You Will Require:
• Screwdriver
• Wood Glue
6. Wash the Fence
You should opt for pressure washing the fence before painting it. It will help you to remove any dirt as well as the residue of old paint. Increase the pressure to high but do not overdo it. Otherwise, you risk wetting the fence, which could lead to mould growth.
Note: It is the right time to inspect the fence for any cobwebs or insects that may have clung to the fence.
Things You Will Require:
• Pressure Washer
7. Sand the Fence
Sandpaper can be used to remove any remaining paint or dirt from your fence. When you apply the new coat, it will have a smooth finish. If you are painting a new fence, sanding it first is a good idea. Consider purchasing a powerful sander to help speed up the procedure.
Things You Will Require:
• Sandpaper
8. Cover Parts of the Fence You Don’t Want to Paint
Some components of your fence, like hinges, handles, and fence posts, are made of a different material, so you should avoid painting them. Secure them with tape to make sure they are well-protected. Nothing is more frustrating than having to undo something you didn’t intend to do. Purchase some painter’s tape that is made specifically for wood surfaces.
Things You Will Require:
• Painter’sTape
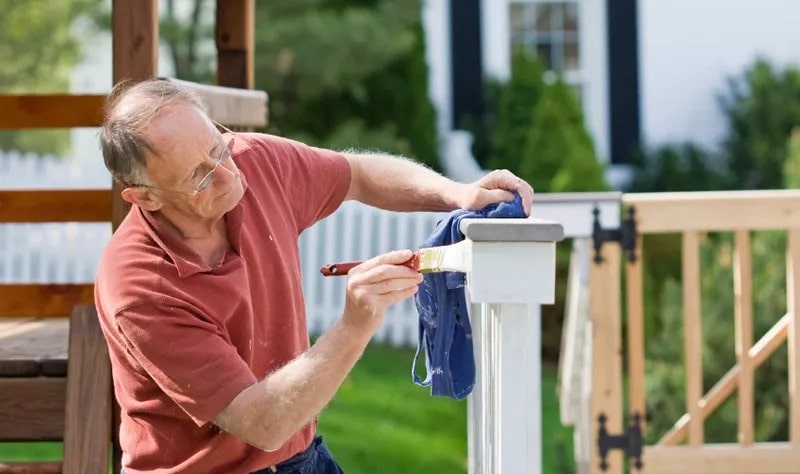
9. Apply the Primer
Apply a primer to your fence when it is ready to be painted. A primer prevents mould from growing on the fence and serves as an adhesive for the paint. A primer also works as a smooth base for the topcoat and helps a lot in bringing out the colour.
Things You Will Require:
• Paintbrush
• Primer
The Bottom Line
Painting the fences outside the property is as important as painting your home. However, it can be a stressful task, particularly if you are doing it for the first time. To make things easier for you, simply follow the steps mentioned above and prepare your fence for painting. If you want to avoid unnecessary hassles, contact professionals who offer a reliable painting in Australia.
-
17 Jul, 2025
-
23 Jun, 2025

-
05 May, 2025
-
04 Mar, 2025

-
27 Dec, 2024

We have a proven track record of providing high-quality and customised painting services at the best price. Call us for more details.